Sump pump installation makes sense when groundwater collects below the level of an approved gravity outlet. A basin receives the water and an automatic pump lifts it through a discharge pipe to an approved destination. Before choosing equipment, identify how the water reaches the basin, how fast it is likely to arrive, and where it can go. Those three answers shape the layout, the required pump capacity, and the plan for a power outage.
A sump often works with a foundation drain. The drain collects and conveys groundwater, while the pump provides the lift where gravity cannot carry it away. Persistent surface runoff, a broken water line, and a sewer backup call for different investigations. The first site assessment should explain what the proposed system will collect and whether other drainage repairs belong in the same scope. A pump can empty its basin only if water has a path into it.
Table of Contents
1. Check Whether the Site Needs Sump Pump Installation
Note when and where water appears. Seepage at the floor and wall junction after prolonged rain may suggest groundwater pressure around the foundation. A wet patch that starts higher on a wall or just below a downspout may point to concentrated surface runoff. Document the timing of the event, the lowest wet point, and where roof and surface water currently drain. These observations help a contractor decide what to inspect before locating a basin for sump pump installation.
A gravel trench with a perforated pipe can intercept and convey water to a gravity outlet or to a sump. That is the collection function described in the guide to a French drain. A basin pump adds lift when the collection route ends below the outlet. If water instead backs up through a floor drain or contains sewage, have a qualified plumber assess the wastewater system. A sewage ejector lifts sanitary waste, and a backwater valve serves a different purpose by limiting reverse flow in a drain.
2. Set Out the Basin and Its Inlets
Choose a location that lets the intended drainage lines reach the basin and gives the pump enough room to be lifted out for service. Check inlet elevations against the proposed start level and expected water level in the drainage system. An existing pit should be assessed for condition, cover fit, pipe openings, and internal space. For new excavation or cutting through a slab, the contractor should check the foundation, concealed services, and other constraints before committing to a location.
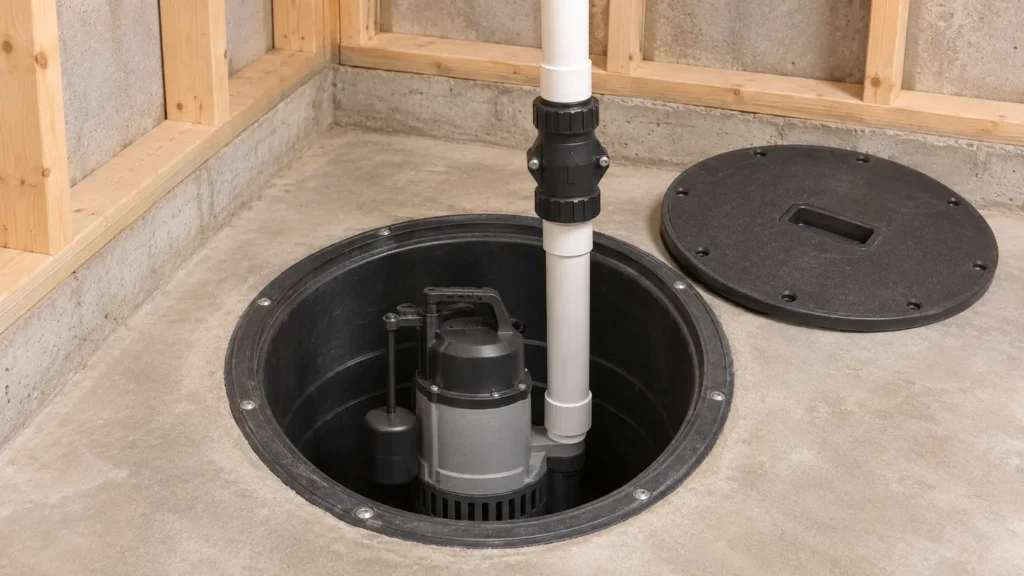
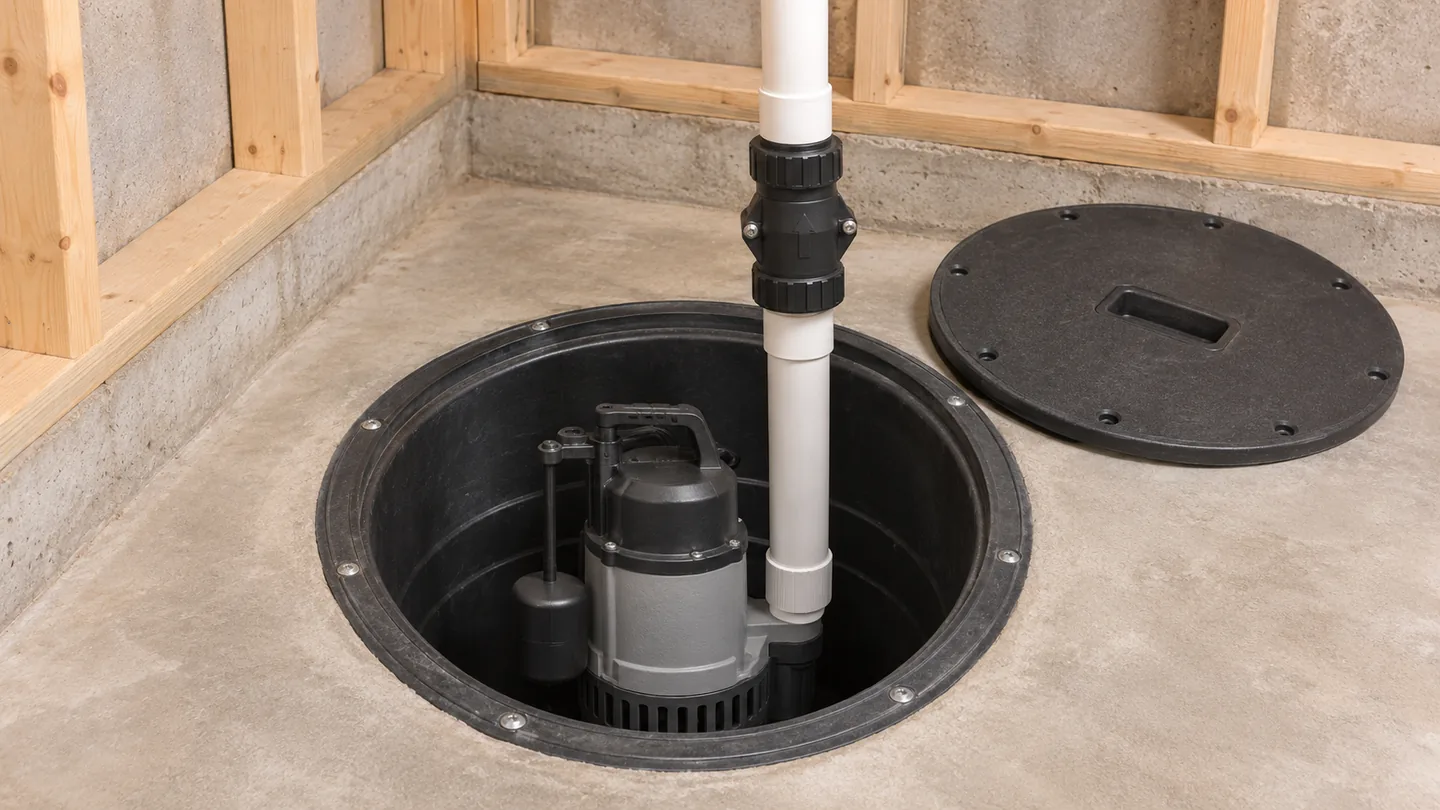
For sump pump installation, basin geometry determines how much water can collect between the pump’s start and stop levels. It also controls whether the float can move freely. Check the assembled layout with the pump, incoming pipes, riser, and any backup float in place. A cramped basin can shorten cycles or trap a float against its wall. Specify a stable pump seat and a cover suited to the site, including any sealing or access requirements that apply.
3. Size the Pump for the Actual Lift
Ask for the expected peak inflow and an estimate of total dynamic head. The head includes vertical lift and the losses from the discharge pipe, fittings, and valves at the required flow. A long route with several bends can make a difference even if the outlet is only a short vertical distance above the basin. For an existing system, observations during wet weather can improve the estimate. For a new system, the designer should state the assumptions behind the anticipated inflow.
Read the candidate pump’s curve at that duty point. The maximum flow advertised for a pump and its maximum lift occur at different ends of the curve. Comparing pumps on horsepower or either maximum alone can give a misleading result. Review motor duty, switch arrangement, permitted water conditions, and the margin above anticipated inflow. The Zoeller technical data sheet shows how available flow falls as head rises for a specific pump family.
4. Confirm the Discharge Destination Before Buying Equipment
For sump pump installation, confirm the approved point of discharge with the authority or system operator. An approved stormwater connection or suitable surface outlet may be possible, depending on the site and applicable requirements. A floor drain or sanitary connection can add groundwater to a wastewater system and may be prohibited. Treat the point of discharge as part of the design because the route changes the head, access requirements, and protection needed at the outlet.
At a surface outlet, check the ground slope and where the water will continue to flow. An outlet too close to the building can send water back toward the foundation and keep the pump cycling. Inspect the route for the potential to erode soil, pond across a walkway, or move water onto adjacent property. Where freezing is possible, the contractor should account for ice and trapped water. A site sketch showing elevations makes the review easier before trenching.
For a buried discharge, record where it turns, crosses other services, and connects to the approved outlet. Confirm who will be able to inspect or clear it later. If the proposed route changes during sump pump installation, ask the designer to revisit the pump duty and the outlet details before the pipe is covered. Photograph the route and keep it with the system records.
5. Plan the Pipe, Check Valve, and Service Access
Where the design calls for a check valve, it limits the volume of water that returns through the pump after shutdown. Confirm its flow direction, allowed orientation, and access for inspection or replacement. Follow the pump instructions on air relief, because some designs use an integral provision and others specify one in the discharge assembly. A pump that runs without moving water can have several causes, including an air lock, a blockage, or a closed valve. For examples of model-specific air relief and cycling considerations, see Zoeller’s product support guidance.
A serviceable sump pump installation provides a way to disconnect the pump without cutting the permanent pipe. It also supports the discharge independently so the connection carries minimal pipe load. Confirm how the riser passes through the cover and how the float, pump, and valve will be reached later. Check that nearby finishes can be removed where access is needed. Coordinate these details with the drainage and electrical trades when defining construction and maintenance services.
6. Coordinate Electrical Protection and Backup
A qualified electrician should confirm the supply, wiring method, grounding, and protective devices for the equipment and installation location. Agree on the positions of the receptacle or disconnect, control, and alarm so they can be reached under safe conditions and are protected from likely water levels. Keep float cables clear of moving parts. A sump pump installation should have a clear means of safe isolation for service, with a label that identifies the circuit and equipment it serves.
For a sump pump installation with no alternate drainage path, consider how quickly the basin would fill after a power outage or a primary pump failure. Depending on that interval and the consequences of flooding, the design may include a high-water alarm, backup pump, or alternate power source. A backup must have enough capacity at the real discharge head and enough runtime under expected demand. Ask which components the backup shares with the primary system. A blocked shared discharge can prevent both pumps from moving water.
7. Test the System with Water and Observe the Outlet
To commission a sump pump installation, the installer can introduce clean water at a controlled rate and observe multiple complete start and stop cycles. Confirm that the level falls while the pump runs, the float clears the basin and pipework, and the discharge reaches its intended destination. Inspect accessible joints during operation and check the basin after shutdown for abnormal drain-back. Where alarms or backup pumps are installed, ask the installer to demonstrate their operation under the conditions they are intended to detect or handle.
The first storm can reveal conditions that a controlled test cannot reproduce, such as unusually high inflow or a saturated outlet area. From a safe position, check whether water is returning toward the building and whether the pump sounds as though it is restarting unusually often. Repeated short cycles in a sump pump installation can point to excessive drain-back, a small working basin volume, or a float problem. Note the circumstances and have the installer investigate the cause.
8. Keep a Service Record and Review It Seasonally
Record the pump model, basin location, float settings if adjustable, electrical circuit, outlet location, and backup arrangement. Keep the manual and the installer’s test results with the record. Use the equipment guidance to plan checks of the alarm, backup battery, accessible outlet, and pump operation. Before the wet season, make sure the outlet is clear and that landscaping or building changes have left the intended flow path intact. Have a qualified technician assess any recurring faults.
For an assessment of a new sump pump installation or an existing system, share photos of the basin and outlet, a sketch of the discharge route, and notes on when seepage begins. Include the pump model and any alarm or failure history if available. This information helps define which parts of the system need investigation and whether the outlet or collection route should be reviewed alongside the pump. Send the details through the project inquiry form.
Frequently Asked Questions
Can a French drain and sump pump work together?
Yes. A French drain can collect groundwater and lead it to a basin. The pump can then lift it to an approved discharge point. Where the drain has a suitable gravity outlet, the site may have no need for a pump.
Is a bigger sump pump always better?
Match the pump to inflow and discharge head. A larger pump can empty a small operating volume quickly and start more often. Review the pump curve, basin volume, and controls together to select a system that handles the expected flow and cycles appropriately.
Where should a sump pump discharge?
Use an approved outlet that carries water safely away from the building. Confirm acceptable options with the relevant authority or drainage operator. The route should account for slope, ponding, erosion, and freezing where applicable.