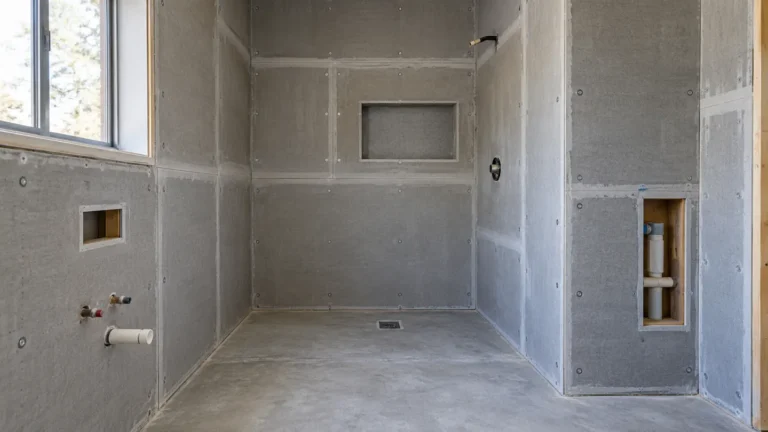
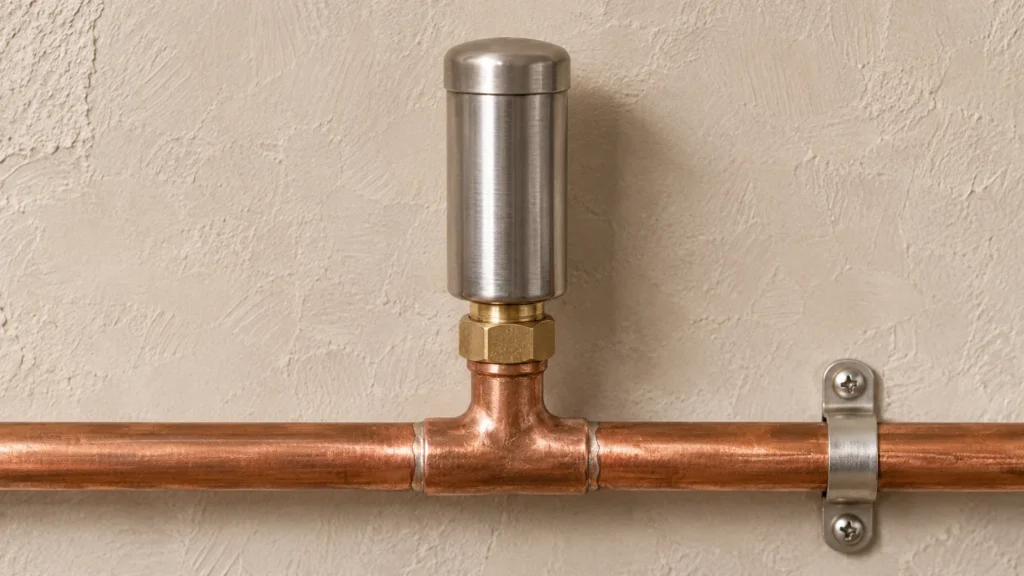
A water hammer arrestor cushions the pressure surge that occurs when flowing water stops abruptly in a supply pipe. It is a likely remedy when a sharp bang coincides with a washing machine, dishwasher, or another fast-closing valve shutting off. The useful starting point is to reproduce the event and trace the affected branch. A knock that occurs while water is running, warming up, or draining needs a different line of investigation.
In a common mechanical design, a sealed cushion absorbs part of the energy from the moving water. A water hammer arrestor works best when the plumber can match its capacity and location to the source of the surge. In an existing building, it is also worth checking for loose supports or a failing valve while the pipe is accessible. The goal is a repeatable repair that deals with the event and any movement it has exposed.
Table of Contents
1. Confirm the Knock Happens at Shutoff
Listen for the instant when the noise starts. An appliance may fill quietly and produce a single sharp report when the inlet valve snaps shut. A faucet that is quiet when closed slowly but knocks during a normal quick closure gives the plumber another clue. Record which fixture was in use, whether it was filling or draining, and whether the sound appeared once or repeated. If possible, identify whether it happened on a hot fill, a cold fill, or both.
A noise can travel along copper pipe and through framing, so the loudest spot in a room may be far from the valve that created it. Operate one fixture at a time where practical and compare the timing with the sound at accessible branches. For a laundry cycle, watch for brief refill events after the first fill. Identifying the same trigger on several normal cycles gives a sounder basis for specifying a water hammer arrestor than judging the volume at one wall.
2. Rule Out Other Sources of Pipe Noise
A clicking sound that develops after hot water starts flowing can come from a pipe expanding against a tight penetration. A buzz while a tap is open can point to a vibrating valve or a restriction. A rattle when flow starts or stops may involve a loose clip or a pipe striking framing. During a site visit, note where pipes cross walls, where they are supported, and whether a recent appliance or fitting change coincided with the first report of noise.
Some installations have a surge and a loose support at the same time. The plumber can correct obvious contact or movement and then repeat the original test to see what remains. In a mixed plumbing system, verify whether the sound belongs to the pressurized supply or to a drain, pump, or check valve serving separate equipment. For context on how these systems are coordinated in buildings, see the guide to building plumbing work.
3. Check the Supply Pressure and Valve Condition
Ask the plumber to compare a static reading with a reading while water is flowing. Static pressure describes the supply with outlets closed. A flowing reading shows how the supply behaves under demand. Neither reading alone reveals a brief pressure spike, and an ordinary gauge may be too slow to capture it. Persistent bangs across several branches may justify checking the pressure regulator, reviewing supply conditions, or using a suitable recording instrument during the event.
A water hammer arrestor handles a transient surge. Sustained high pressure, a malfunctioning regulator, or a valve that chatters while open calls for its own repair. A slow pressure rise during water heating can also lead the plumber to investigate thermal expansion in a closed system. Write down which conditions were present when pressure was measured. A reading recorded after a quiet morning and one taken during a problematic fill cycle can answer different questions.
4. Size the Water Hammer Arrestor for the Branch
Start with what the device will protect. One fast-closing appliance on a short connection is a different sizing case from several fixtures on a shared branch. For a multi-fixture group, identify what each hot and cold line serves and use the fixture loading method in the applicable sizing guidance. For a large or unusual system with pumps or long runs, involve the designer so the analysis can account for the operating conditions and the way flow stops.
Connection size describes how a fitting joins the pipe. Verify the water hammer arrestor capacity separately. A plumber should also check that the selected model is approved for potable service where applicable, that its pressure and temperature ratings cover the line, and that its connection suits the piping material. Review the product documentation before buying. For an example of how point-of-use and grouped fixture applications are treated differently, see the Sioux Chief sizing guide.
5. Locate the Device Near the Source of the Surge
For an appliance, the water hammer arrestor often belongs close to the quick-closing valve on the supply serving it. The model instructions establish where the fitting can be placed and which orientations are permitted. A grouped branch may need a different location and more than one device, depending on its arrangement. Provide a sketch of the branch with valve locations and distances from junctions if the supply is difficult to trace from the visible pipe alone.
Check hot and cold supplies separately. A washing machine may have two inlet valves and operate them independently depending on the cycle. The exact layout, appliance instructions, and applicable requirements determine which lines need protection. Leave enough room for the connection and for service where required. A fitting behind a machine should sit clear of the cabinet and allow the hose to turn gently when the machine is moved back into place.
6. Review the Connection and Pipe Supports
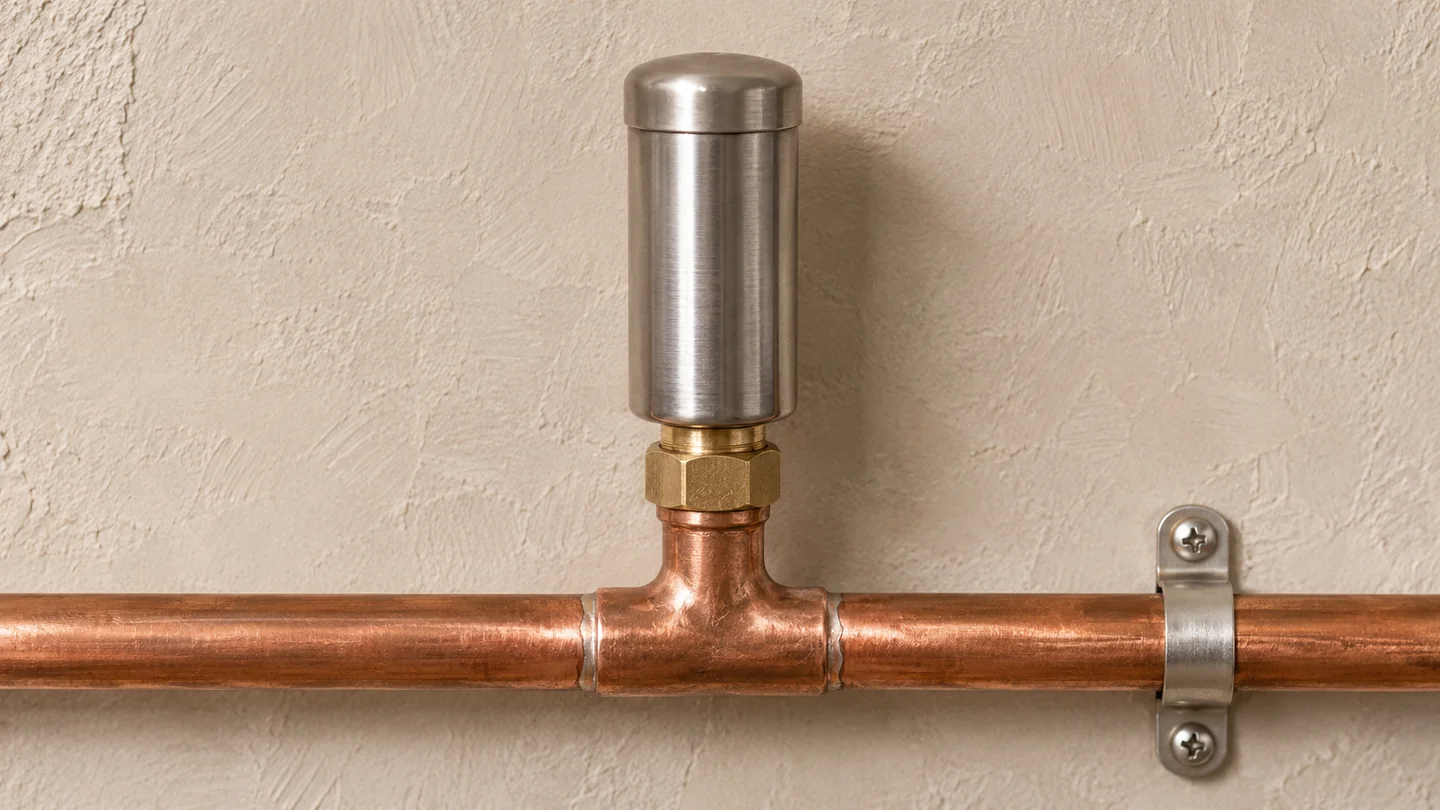
Select a connection that suits the installation. Some models connect to an appliance valve or hose fitting. Others join a branch through a compatible tee. The plumber should account for the space needed to make the joint and the water hammer arrestor manufacturer’s limits on installation methods. Where heat is used to join nearby copper, the fitting may need protection from that heat, depending on its design. Confirm this before work begins, especially where space is tight.
Ask the plumber to include the fitting and any access work as separate items in the quote. The location of the water hammer arrestor can affect how much wall or cabinet work is needed. If the branch is hidden, identify which findings can be confirmed from the appliance connection and what would require opening the finish. Agree on how any opening will be reinstated before the work starts.
Pipe supports should hold the line securely while accommodating movement the design requires. A new tee or device should sit without twisting the pipe or forcing a misaligned fitting into place. Before concealing the assembly, check the pipe clips, verify how the connection was made, and inspect joints under operating pressure. Include access requirements and the location of any shutoff that will be needed for future service. These checks fit naturally into a coordinated scope for construction and maintenance services.
7. Repeat the Original Test Under Normal Use
Once the system is back in service, reproduce the same event that triggered the original knock. Run the same appliance fill sequence or use the same fixture under ordinary operating conditions. Watch the exposed pipe near the valve and listen at the location where the noise was reported. Inspect the new connections for leaks while the line is pressurized and after several cycles. If separate hot and cold valves are involved, confirm that each has been tested and note which is served by the water hammer arrestor.
If a water hammer arrestor reduces the bang but a lighter tick remains as the pipe warms, record the timing of the remaining noise separately. If the original bang persists, revisit the source, installation location, and capacity before ordering another fitting. On a shared branch, check whether a different fixture also triggers the problem. A record of the original test and the repeat test helps the installer distinguish an incomplete repair from a second issue.
8. Document the Repair Before Closing the Wall
Record the water hammer arrestor model, its capacity designation, the line it serves, and the position of any access panel. Photograph the assembly with a nearby junction or valve visible so someone can find it later. For renovation work, keep the record with the revised plumbing layout and note any changes to pipe supports or pressure controls. If the appliance is replaced in the future, these details help a plumber assess whether the existing arrangement still fits its valves.
For a quote or a site assessment, send a brief description of the sound, a photo of the accessible pipe, and the fixture or appliance that was operating at the time. Add any known pressure readings and say whether the problem started after a recent change. These details make it easier to identify what can be inspected without opening the wall. Send the notes and photos through the project inquiry form.
Frequently Asked Questions
Do washing machines need a water hammer arrestor on both supplies?
Many washing machines have separate fast-closing hot and cold valves, so the plumber should check both supplies. Use the appliance instructions, the arrestor sizing guidance, and the applicable plumbing requirements to confirm the arrangement for the specific installation.
Can an arrestor be installed sideways?
Orientation depends on the model. Check its installation sheet before selecting a tee location. The plumber should also leave the clearance needed for any service connection and avoid loading the pipe with the weight or leverage of an unsupported assembly.
Why did the knocking return after an arrestor was fitted?
Reproduce the original event and check whether the sound still coincides with the same valve closing. A plumber can check the arrestor’s location and capacity, supply pressure, and pipe support, then look for another quick-closing valve or a different source of noise.