Choosing tile adhesive is a specification decision, not simply a choice between bags on a shelf. The bonding material must suit the tile, its backing, the prepared surface, and the conditions the finished installation will experience. A product that performs well on one wall may be unsuitable for a different floor assembly.
This guide helps owners and project teams ask useful questions before purchase and installation. The aim is a coordinated scope: sound preparation, compatible materials, controlled working conditions, and clear inspection points. Product instructions and the complete assembly should guide the final choice.
Table of Contents
1. Identify what tile adhesive must bond
Start with the actual tile rather than a general label such as bathroom finish. Record its material, dimensions, thickness, backing condition, and intended position. Dense porcelain, natural stone, glass, and tiles with mesh or resin backing can create different compatibility requirements.
Ask whether the tile manufacturer identifies restrictions or recommends a particular bonding approach. Some stone products may be sensitive to moisture or staining. Backing treatments may affect the bond even when the visible face looks familiar. Keep a sample and the packaging information available so the selected material can be checked against a specific product.
Before selecting tile adhesive, write down any uncertain interfaces, including old coatings or unfamiliar backing treatments. Ask the relevant manufacturers to resolve those interfaces in writing so installers receive a usable specification.
2. Read classifications without treating them as a complete design
Classification markings provide a useful starting point, but they do not replace application instructions. MAPEI explains cementitious adhesive classifications and additional performance characteristics, including improved performance and deformability, in its guide to adhesive standards. These descriptions help interpret the label rather than establish one universal specification.
Translate each proposed product into project questions. Does its technical sheet permit this tile type, substrate, and exposure? Are primers or preparation steps required? Does the proposed system address expected movement? A higher classification alone cannot make an unsuitable substrate acceptable or compensate for incompatible layers elsewhere in the assembly.
3. Match tile adhesive to the prepared substrate
Describe the surface beneath the tile precisely. Concrete, cement screed, plaster, approved boards, existing finishes, and waterproofing layers should not be treated as interchangeable. Age, moisture condition, strength, contamination, and surface profile all influence whether bonding can proceed.
Preparation should remove weak material and contamination, then establish the surface condition required by the specified system. Check flatness separately from level: a surface can follow a deliberate slope and still be flat enough for the selected tile format. Major correction needs an appropriate preparation material.
Adhesive should not be used to conceal structural movement, bridge unresolved cracks, repair failed movement joints, or replace waterproofing. Where those conditions exist, define the corrective scope before arranging tile installation.
4. Select the material family for the actual application
Cementitious, ready-mixed dispersion, and reaction-resin products serve different applications. Selection should follow the manufacturer’s permitted uses, limitations, and compatible components. Avoid assuming that every premixed product is identical or that one family automatically suits every porcelain installation.
Consider whether the work is vertical or horizontal, sheltered or exposed, dry or regularly wet. Identify any temperature changes, cleaning chemicals, or unusual service demands. Where an existing membrane or board forms part of the assembly, confirm compatibility with that exact product.
Keep the current technical sheet with the job documents. If two products appear interchangeable, compare their stated application limits and preparation requirements before accepting a substitution.
5. Plan tile adhesive handling around working conditions
Mixing and placement deserve their own work plan. Use the manufacturer’s water quantity, mixing procedure, and any specified resting or remixing sequence. Adding water by eye or changing the mixture after it starts stiffening can undermine the intended performance.
Pot life concerns usability in the container; open time concerns the period after spreading during which the material can still form the required bond. They describe different stages. Heat, airflow, absorbent surfaces, and working pace can change practical conditions, so the installer must monitor the spread material.
Spread only an area that can be tiled properly within the product’s instructions. Protect materials from unsuitable storage conditions, keep containers and tools clean, and arrange the sequence so rushed placement does not become normal practice.
Assign someone to check tile adhesive handling against the approved instructions during the first installation area. A brief recorded check can reveal inconsistent mixing or placement before the same problem spreads across several rooms.
6. Inspect contact rather than relying on appearance
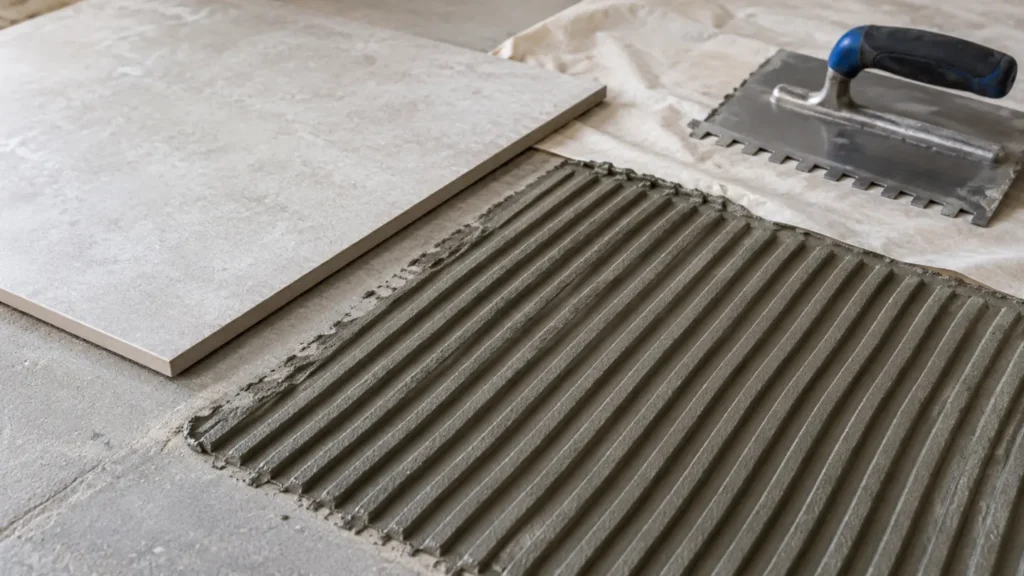
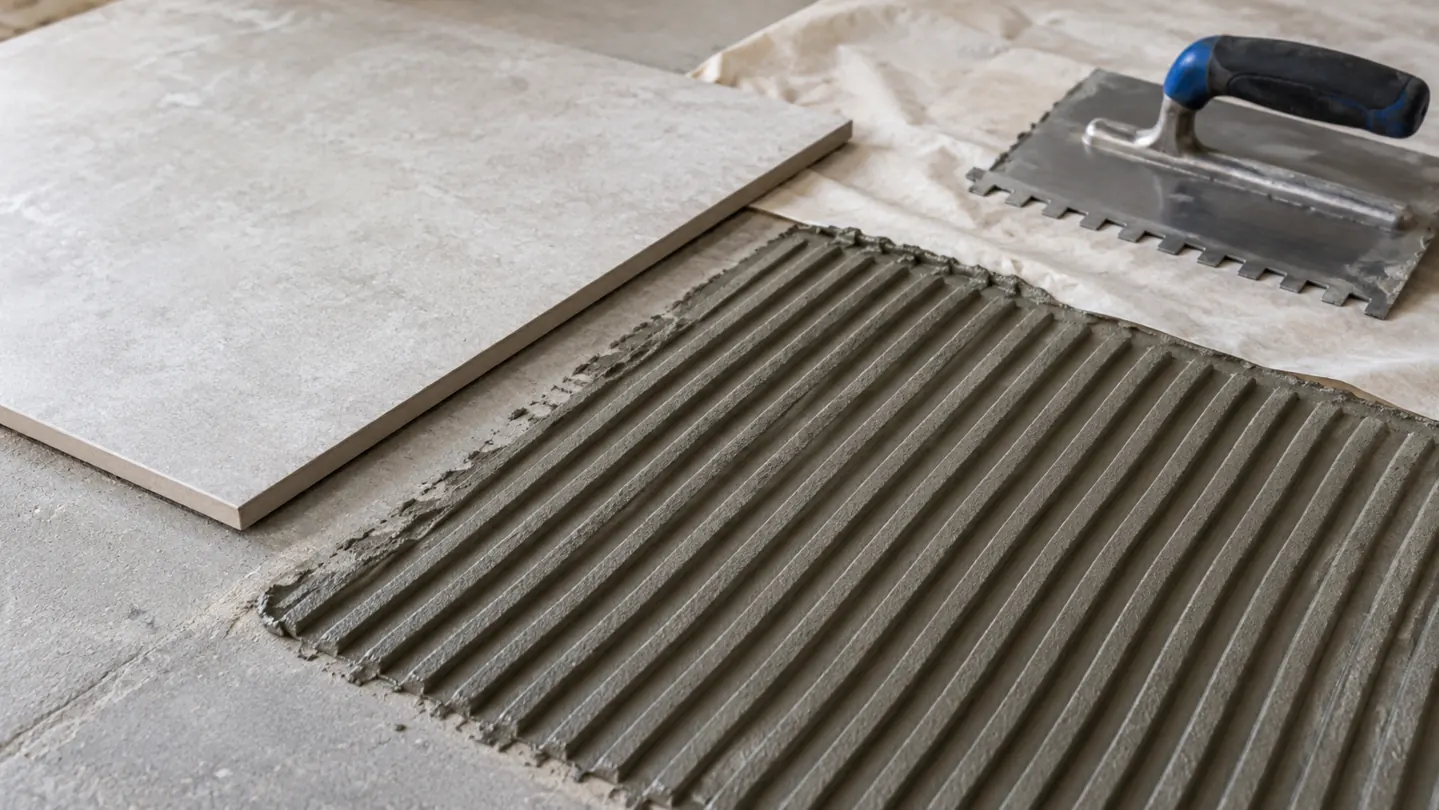
A finished surface can look orderly while hiding inadequate contact beneath individual tiles. During installation, lift representative tiles to assess transfer and contact, including edges and corners where relevant. Use the specified spreading method and adjust it to the tile and prepared surface.
MAPEI’s large-format installation guidance connects material selection and placement to tile format and the supporting assembly. The practical implication is to review both product compatibility and contact during work.
Do not accept isolated blobs as a substitute for the prescribed bonding method. For large formats, agree on handling, checking, and placement arrangements before installation begins. Specify inspection points without inventing a universal trowel size or coverage percentage.
7. Coordinate joints, waterproofing, and protection
Bonding belongs within a complete finish assembly. Confirm which joints remain active and how they pass through the tiled finish. The grout layout and the movement-joint strategy serve different purposes; filling every gap with rigid grout does not address movement.
In wet areas, inspect the waterproofing system, transitions, penetrations, and drainage arrangement before concealing them. A water-resistant bonding product does not itself establish a waterproof room. Responsibilities for each layer should be clear, especially when different trades carry out preparation and tiling.
Follow product and system instructions for protection, grouting, and return to service. Avoid promising a standard opening time without checking the selected materials and site conditions. Early traffic, water exposure, or other work can disturb an installation before it is ready.
8. Compare quotations by the complete bonding scope
An economical tile adhesive purchase can become expensive if the quote omits preparation, compatible primers, checking, or protection. Ask each contractor to identify the proposed product, surface corrections, installation method, and exclusions. Compare the same scope across quotations.
Define who supplies materials, verifies compatibility, and approves substitutions. Retain product labels and batch information where practical. Set a hold point after preparation and before widespread placement, then record any issues that need correction.
Owners can review Aloda Construction Company’s services to understand the available project support. For a broader sequence of checks, use the construction inspection checklist guide. Include bonding checks within the project inspection plan rather than leaving them until handover.
Treat tile adhesive substitutions as a documented decision. Record the replacement product, its compatibility evidence, and any changed preparation or protection requirements, then communicate those changes to everyone responsible for the finish.
9. Frequently asked questions
Can one tile adhesive be used throughout a project?
Sometimes one specified product covers several areas, but this should be demonstrated from its technical information. Different tiles, backing materials, substrates, and exposures may require different products or preparation. Approve the application schedule before ordering, and reconsider it whenever the finish selection changes.
Does a stronger product remove the need for preparation?
No. Performance depends on the surface and complete assembly as well as the bonding material. Dust, weak layers, contamination, excessive unevenness, and unresolved movement cannot be assumed away. Inspection should confirm that preparation is complete before the installer begins covering the surface.
What information should an owner provide before asking for advice?
Provide tile details, photographs of the prepared surface, the room’s use, wet exposure, and the proposed build-up. Include the manufacturer’s instructions for boards or waterproofing if applicable. To discuss a coordinated finishing scope, contact Aloda Construction Company with those details and the intended work sequence.