
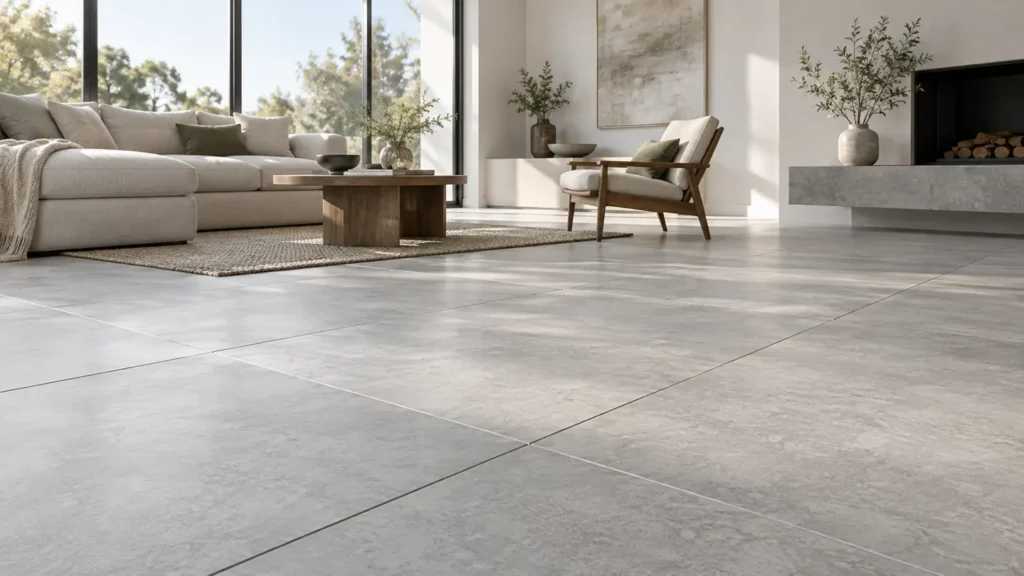
Choosing porcelain tiles involves more than finding an attractive sample. Room use, surface texture, dimensions, joint layout, and cleaning needs all affect whether a product remains practical after installation. The best starting point is a clear picture of how the space will be used every day.
This guide connects product selection with layout and project scope. It helps owners compare options without assuming that density alone guarantees safety, appearance, or outdoor suitability. Keep the exact product information alongside physical samples throughout the selection process.
Table of Contents
1. Understand what porcelain tiles are
Porcelain is a type of ceramic tile, rather than a separate non-ceramic material. The Tile Council of North America describes porcelain through low water absorption, at or below 0.5 percent under the referenced ASTM C373 testing framework, in its porcelain and non-porcelain explanation. This definition is useful product context, not a substitute for applicable project requirements.
Low absorption does not make every finish suitable for every position. Confirm the manufacturer’s stated area of use for the exact product. Wall use, floor use, exterior exposure, and other applications need their own checks. A familiar brand or a porcelain label alone does not settle these decisions.
2. Begin with the room and its daily use
Describe who uses the room, what they carry through it, and what normally reaches the floor. An entrance, quiet bedroom, busy kitchen, and frequently wet washroom create different demands. Furniture movement, grit, food spills, and cleaning habits should inform the choice.
Separate visual preferences from functional requirements, then find products that satisfy both. Consider comfort underfoot, glare, dirt visibility, and how the finish meets adjacent materials. For bathrooms and other wet spaces, review drainage and the overall waterproofing design alongside the tile selection.
Outdoor use requires explicit product suitability for the expected environment. Do not assume that all porcelain products share the same frost resistance, finish performance, or installation requirements.
When comparing porcelain tiles for adjoining rooms, consider whether visual continuity should take priority over different surface needs. Related colours or patterns may connect the rooms while allowing each area to use a suitable finish.
3. Choose porcelain tiles with suitable surface performance
A smooth, polished appearance can be appealing, but appearance cannot establish slip suitability. Request the manufacturer’s surface-performance information and its recommended applications. Consider how the room will behave with water, cleaning residue, footwear, or tracked-in contamination.
TCNA’s dynamic coefficient of friction guidance explains why DCOF results are part of a wider assessment. Surface conditions, footwear, drainage, inclines, and maintenance affect practical safety; one number cannot guarantee a safe floor in every situation.
Evaluate proposed finishes in the intended setting and involve the project designer where use conditions are demanding. Specify suitable drainage and cleaning arrangements. Textured products can provide useful characteristics, but their texture may also affect how easily dirt and residue are removed.
4. Review colour, finish, and construction with real samples
A screen image cannot reliably show colour, reflection, or texture. Compare physical samples under the room’s daylight and artificial lighting. View them horizontally if they are intended for floors, and include nearby paint, cabinetry, worktops, or timber finishes.
Glazed, unglazed, and through-body descriptions concern product construction and appearance. None is universally better. Check the specific finish, intended use, care requirements, and how visible wear or edge damage might appear on that product.
Ask about intended shade variation and inspect several pieces rather than judging a range from one tile. Confirm batch shade and caliber information at delivery. Keep an approved sample available, and resolve unexpected differences before boxes are mixed into the installation.
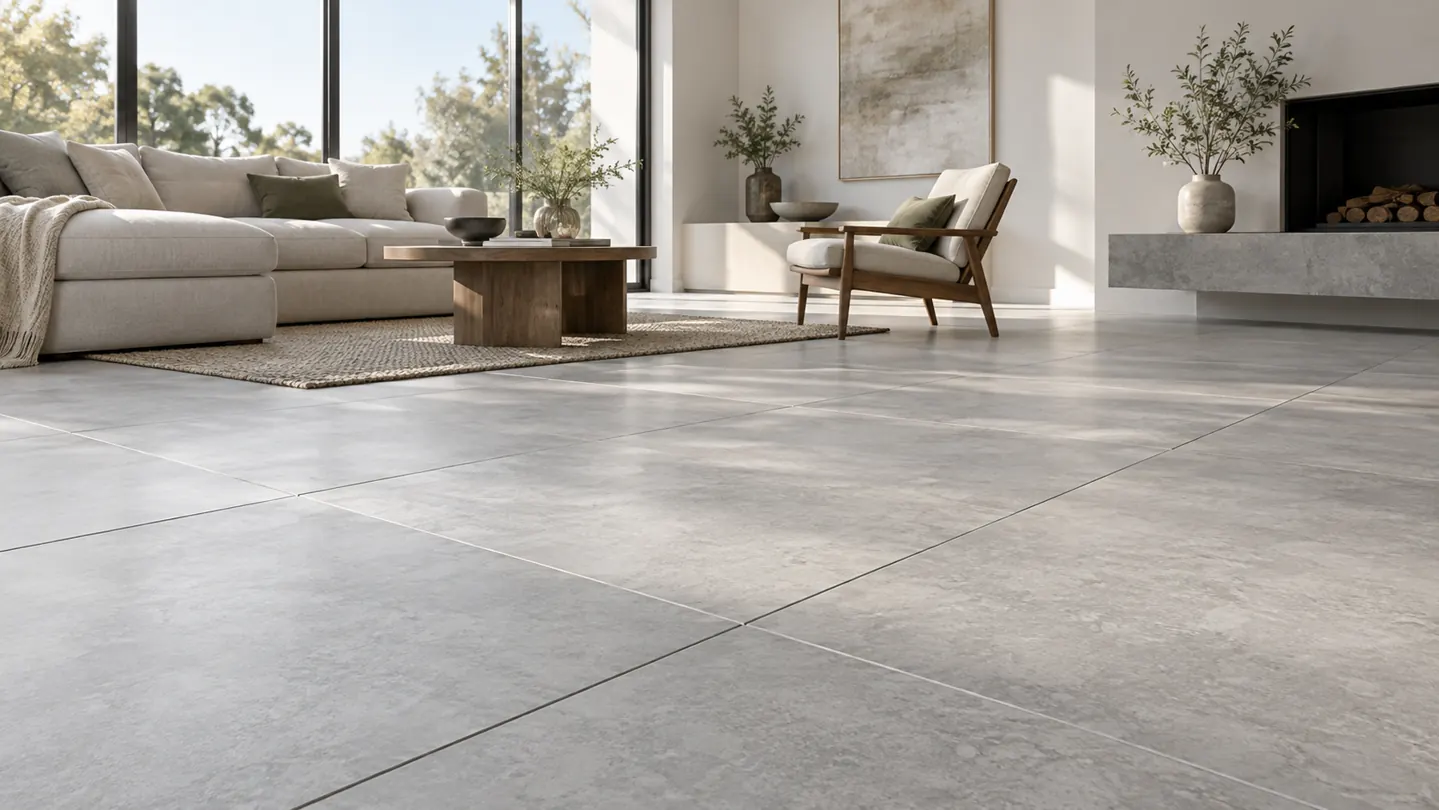
5. Plan porcelain tiles around dimensions and joint layout
Choose tile size in relation to the room, obstacles, and desired pattern. Large pieces may create a calm visual rhythm, but a small room with many corners or fittings can produce substantial cutting. Smaller formats may provide more flexibility around drainage and changing geometry.
Prepare a layout showing doors, main sightlines, fixed furniture, transitions, and cuts at boundaries. Check both directions before accepting the starting line. A balanced layout may need adjustment to avoid awkward narrow pieces in prominent positions.
Rectified edges do not mean that joints can disappear. Joint spacing must suit the product and installation system. Review the manufacturer’s pattern guidance, especially with elongated tiles, because warpage and offset choices can influence lippage and the finished appearance.
Lay several porcelain tiles together before approving the pattern. This makes repeated graphics, direction changes, and joint relationships easier to assess than isolated samples, especially where the selected range imitates stone or timber.
6. Check the supporting surface and finished heights
A tile selection can change the practical requirements of the floor beneath it. Review substrate flatness against the selected format and system before work begins. Flatness is distinct from level: a deliberately sloping surface may still need consistent support without local humps or hollows.
Confirm the full build-up at doors, drains, thresholds, stairs, and neighbouring floors. Nominal tile thickness alone does not establish the finished height. Adhesive and preparation layers also matter, and thickness should not be treated as a universal measure of quality or suitability.
Record any necessary surface correction as a separate scope item. Resolve transition details early so installation does not create unexpected steps, obstruct doors, or conflict with drainage. Leave bonding-product selection to the requirements of the actual assembly.
7. Make cleaning requirements part of selection
Choose a finish that fits the maintenance routine the owner can sustain. Compare how samples respond to ordinary dirt and approved cleaning methods. Strong texture, pale grout, and highly reflective surfaces may each create different cleaning or appearance concerns.
Follow the manufacturer’s care instructions for the tile and the selected grout. Remove installation residue using compatible methods, then establish a routine that avoids residue accumulation. Do not assume that stronger chemicals or abrasive pads improve cleaning; they may be unsuitable for components of the finished surface.
Ask whether any treatment is required for the exact product. Avoid blanket assumptions about sealing every porcelain surface. Keep spare pieces with their product and batch details, and store them where they can be found if later repairs are needed.
8. Compare costs across the complete finished scope
Compare porcelain tiles through total installed scope, not the box price alone. Include preparation, cutting, pattern complexity, trims, transitions, grout, handling, protection, and agreed spare material. Two products with similar purchase prices can produce different installation demands.
Request clear quantities and a cutting allowance based on the approved layout. Define responsibility for breakage, delivery inspection, and replacement of unacceptable pieces. Ask how additional material would be sourced if a matching batch becomes difficult to obtain.
For help coordinating finishes, review Aloda Construction Company’s services and its interior finishing guide. Agree on an approved sample, layout, and written scope before placing the final order.
Document approved porcelain tiles clearly enough that purchasing and installation teams can identify the same product. Similar collection names can conceal different finishes, so include the precise code and retain the supplier’s supporting information.
9. Frequently asked questions
Are porcelain tiles always suitable for wet floors?
No. Check the exact product’s intended use and surface-performance information, then assess the room’s water exposure, drainage, footwear, contamination, and cleaning routine. A low-absorption tile does not by itself establish slip suitability or create a waterproof assembly. The complete room design matters.
Is a large tile always better in a small room?
No. Large formats can reduce the number of visible joints, but room geometry and cutting may outweigh that benefit. Compare scaled layouts and physical samples. Consider access, handling, drain details, and substrate preparation before choosing a format solely for its visual effect.
What should be confirmed before ordering?
Confirm the product code, finish, dimensions, shade expectations, intended use, quantity, layout, and delivery checks. Make sure trims and transitions are included and keep the approved sample. To discuss room requirements and finishing coordination, contact Aloda Construction Company with the product options and a measured plan.


