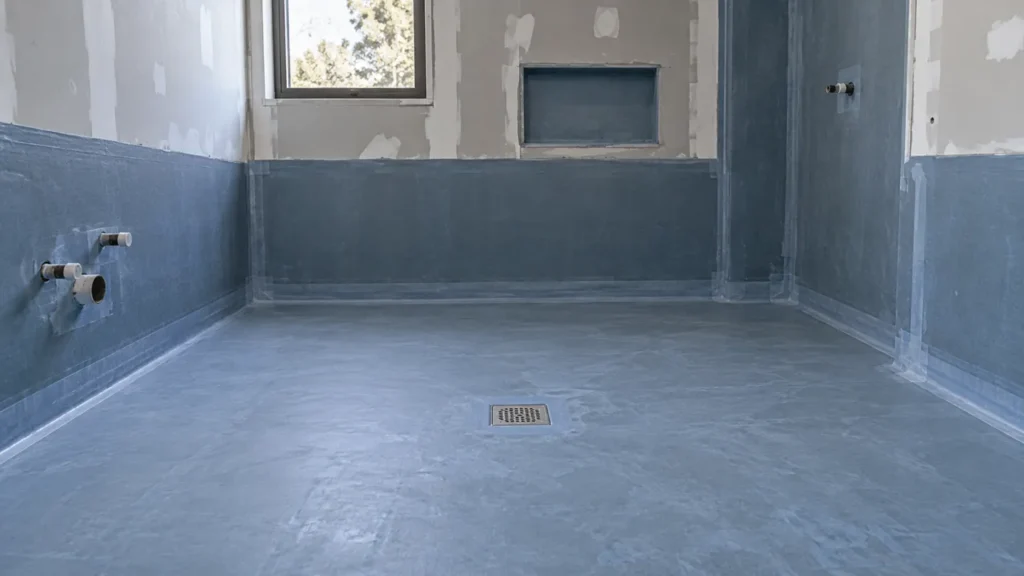
Bathroom waterproofing creates a continuous water-resistant layer behind or beneath bathroom finishes, connected to drains and protected at joints, corners, and penetrations. Its success depends on the complete assembly, not the appearance of the finished tiles. Before selecting products, establish where water will collect, how it will drain, and which details must stay sealed throughout normal use.
A shower renovation and a new bathroom need different investigations, but both benefit from the same planning discipline. This guide explains nine decisions that help owners evaluate a proposed system, ask useful questions, and recognize missing work before finishes conceal it. The aim is a coordinated installation that can be inspected and maintained.
Table of Contents
1. Define the bathroom waterproofing area
Start by mapping exposure rather than drawing a boundary around the shower tray alone. Shower floors, walls, niches, benches, curbs, and areas outside an open shower can experience different amounts of water. A handheld shower or an accessible entrance may extend the wet area beyond the obvious enclosure.
The designer should specify which surfaces receive a membrane and how that protection terminates. Bathrooms with a floor drain still need a defined drainage strategy; a drain does not automatically make every part of the room a suitable wet area. Review changes in level, adjoining rooms, and door openings together. A clear drawing makes the contractor’s scope easier to compare and helps prevent assumptions about who seals each transition.
2. Understand what the tiles cannot do
Tile is a finish, while grout fills joints between tiles. Neither should be treated as the complete waterproof layer of a shower assembly. Even an attractive tiled surface can allow moisture to reach the materials behind it through joints, movement, or damaged details.
This distinction changes how bathroom waterproofing defects are assessed. Replacing discolored grout may improve appearance without addressing a failed membrane connection. Likewise, applying a surface coating over existing tiles does not establish what is happening underneath. Ask the contractor to identify the actual waterproof layer and show how it connects across the entire wet area. If that answer relies only on tight grout joints, the proposed protection needs further development before installation begins.
3. Select one coordinated bathroom waterproofing system
A system may use sheet membranes, liquid-applied products, or another specified assembly. The important comparison is compatibility across the membrane, substrate, bonding materials, drain connection, and accessories. Product availability alone is a weak reason to substitute a component at a critical junction.
Avoid stacking unrelated waterproof products on the assumption that more layers provide more protection. Additional layers can change bonding, drying, and drainage behavior without resolving weak details. For an example of integrated shower protection, see Schluter’s tiled shower waterproofing guidance. Use the selected manufacturer’s current documentation to confirm the complete assembly. Record approved substitutions in writing so the inspection follows the installed system rather than an earlier quotation.
4. Confirm the substrate and drainage geometry
Waterproof materials need a suitable base. Loose surfaces, contamination, uneven transitions, or movement can undermine a membrane even when the product itself is appropriate. An existing bathroom may therefore need an investigation of its backing and floor before the final installation scope is agreed.
Check the specified falls and the location of the drainage plane in the chosen assembly. Water should have a planned route to the drain, without persistent pockets caused by poorly shaped corners or benches. The membrane is not a substitute for correcting unsuitable geometry. Ask for these conditions to be inspected before covering work starts. This is also the stage to resolve how door thresholds and accessible shower entrances will manage water without creating unintended obstacles.
5. Make the drain connection explicit
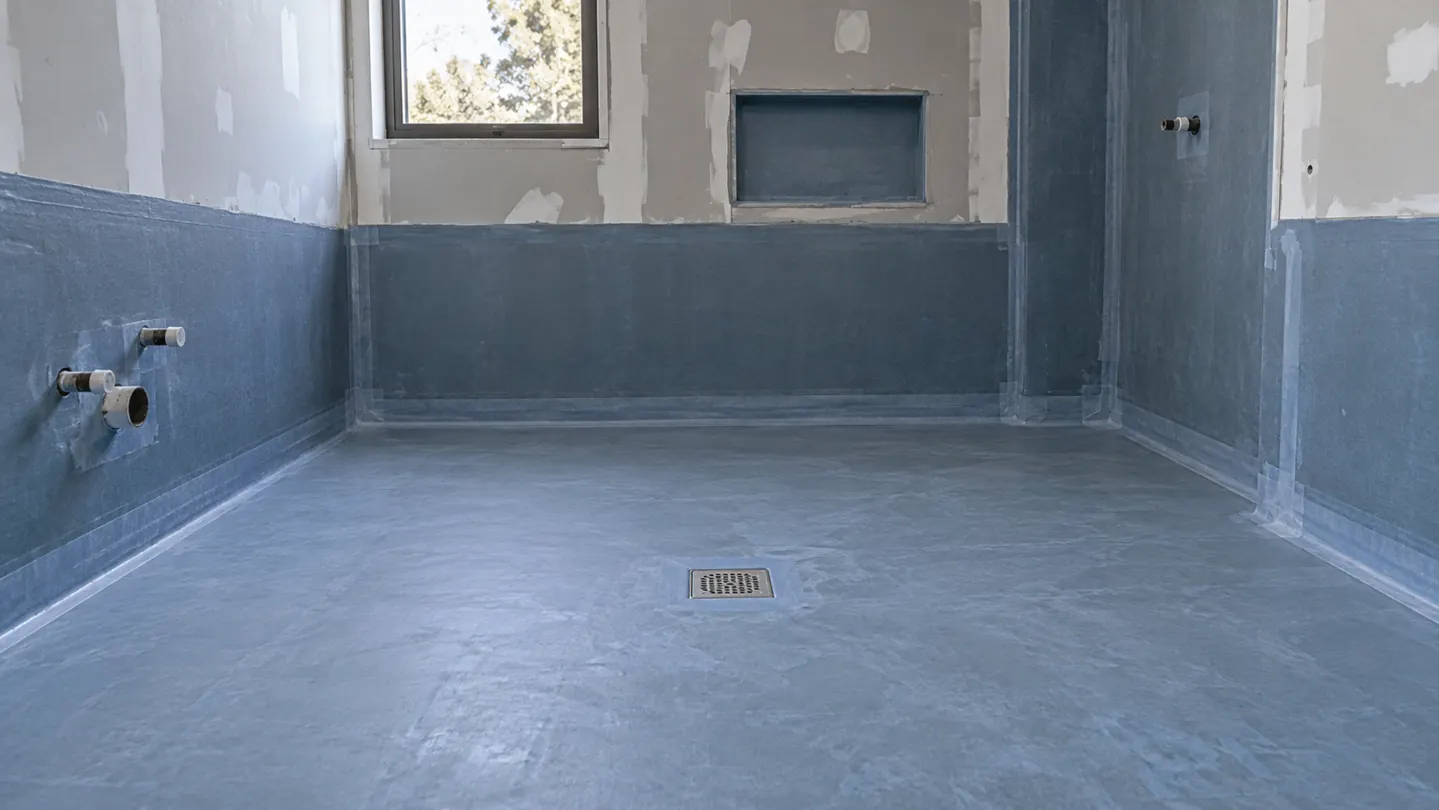
The drain is a critical transition in bathroom waterproofing, connecting the waterproof layer to the outlet. A membrane that reaches the drain area but lacks the specified connection can leave a concealed path for leakage. The drain type and waterproof assembly should therefore be selected together.
Ask to see the detail around the drain flange, including any system accessories and the intended sequence of work. Confirm who supplies the drain and who checks its suitability before it is installed. An attractive grate says little about the connection below it. Where renovation work retains an old drain, the contractor should verify whether an approved connection is possible. If compatibility remains unresolved, stop that part of the work until a workable detail has been agreed.
6. Review corners, penetrations, and movement
Corners and penetrations deserve individual attention because they interrupt otherwise straightforward surfaces. Pipe outlets, shower controls, niches, bench edges, and changes between floor and wall all require details appropriate to the selected system. General promises to seal everything are less useful than marked drawings and identified accessories.
Movement also needs to be accommodated in the overall tiled assembly. A flexible surface joint cannot compensate for a missing waterproof connection underneath. Coordinate the membrane details and finish joints, particularly where different materials meet. Plan fittings before installation so unnecessary holes are avoided later. If a fixture must be attached through a protected surface, its fastening and sealing arrangement should be specified, documented, and checked before the fixture conceals the work.
7. Schedule bathroom waterproofing inspection and testing
Establish an inspection point before tiling hides the membrane. The check should cover continuity, drain connections, corners, penetrations, and any product-specific requirements for application. For liquid products, inspection criteria may include the manufacturer’s specified coverage or film requirements; visual color alone is insufficient evidence of correct application.
Where a flood test is required or appropriate, agree on the method and acceptance criteria in advance. Waiting periods and test duration must follow the selected system and project requirements; a universal twenty-four- or forty-eight-hour rule can be misleading. Record the test conditions and outcome. A successful test checks the assembly at that stage, so protection during subsequent work remains essential. Testing is a verification step, not a substitute for sound detailing.
8. Protect completed work and preserve records
A membrane can be damaged after inspection by ladders, stored tiles, sharp tools, or later alterations. Define how completed surfaces will be protected and which trades may enter the area. If damage occurs, repair it with the approved method and repeat the relevant checks before covering it.
Keep photographs of drain connections, corners, and penetrations while they are visible. Save product names, installation instructions, approved substitutions, and inspection records with the project documents. These records help future maintenance teams identify the assembly and assess proposed alterations. For a wider discussion of moisture protection, read our waterproofing overview; use this bathroom-specific checklist when reviewing shower details and the handover information.
9. Compare proposals by their complete scope
Compare bathroom waterproofing quotations by what they deliver, including substrate preparation, drainage details, membrane installation, inspection, testing, protection, and documentation. A short description such as waterproof and tile bathroom leaves too much room for different interpretations. Ask which conditions could change the scope once existing finishes are removed.
Identify the person responsible for coordinating plumbing, waterproofing, and tiling. Clear responsibility matters most where one trade’s work becomes another trade’s concealed starting point. Explore Aloda Construction Company’s construction services when planning the project, and contact the team with photographs, available drawings, and the known symptoms. A useful initial brief explains whether the work concerns a new installation, recurring leakage, or a renovation with uncertain existing layers.
Is bathroom waterproofing necessary behind tiles?
Yes, a wet-area tile assembly needs suitable waterproof protection. Tiles and grout provide the finish, while the specified membrane and its connections manage water that reaches behind or beneath that finish.
Can new grout solve a bathroom leak?
It can address a defective finish joint, but it does not establish that the concealed waterproof layer is intact. Investigate the leak’s source before choosing a repair, particularly when symptoms recur or affect adjacent spaces.
When should the membrane be tested?
Test before it is concealed, after the required installation and curing stages. Follow the selected system and project instructions for timing, method, and acceptance, then protect the tested assembly throughout the remaining work.