
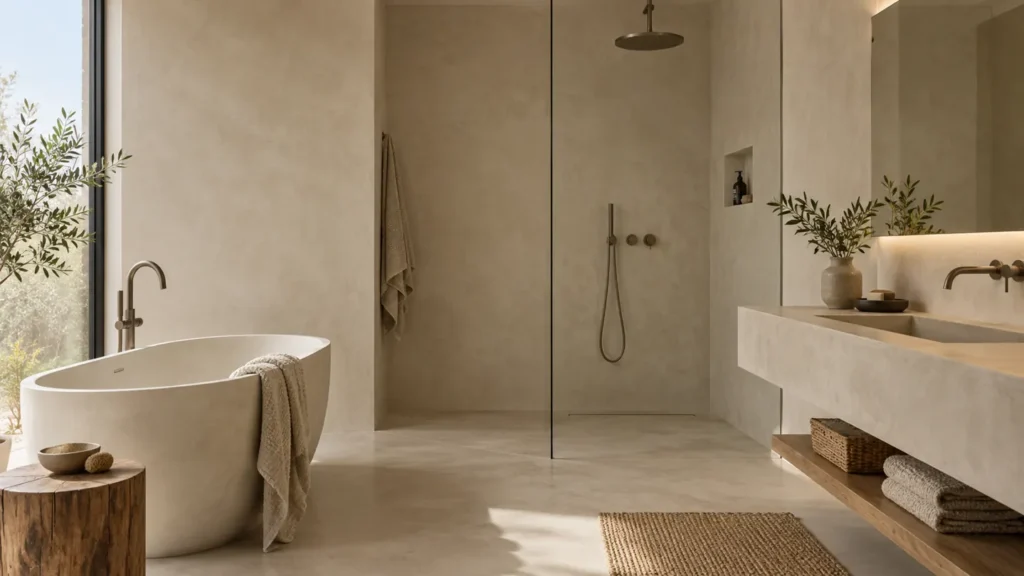
Microcement is a thin decorative coating system that can create a visually continuous surface over a suitable prepared base. Choosing it successfully means assessing the substrate, selecting compatible layers, and accepting the character of a hand-applied finish. The visible top coat is only one part of the specification.
Before committing to a colour sample, define the surface’s use and how it will meet adjacent materials. A wall feature, kitchen floor, bathroom surface, and staircase require different decisions. These nine checks turn a visual preference into a clear project brief.
Table of Contents
1. Decide where microcement fits the design
Begin with the effect you want: quiet visual continuity, a textured feature, or a coordinated finish across several surfaces. Identify which walls, floors, and details belong in the scheme. Extending the same appearance everywhere may complicate maintenance or create difficult junctions without improving the design.
Consider how light will reveal trowel marks, tonal variation, and sheen. A heavily glazed room can show texture differently from a softly lit corridor. Review the proposed finish beside cabinetry, stone, metalwork, and painted walls.
Also define practical demands. A family entrance experiences grit and repeated cleaning, while a decorative wall has a different exposure. Obtain suitability information for each intended location rather than assuming a sample approved for a wall also establishes floor performance.
2. Inspect the supporting base before pricing
The appearance of microcement depends on the condition of the surface beneath it. Survey cracks, loose materials, hollow areas, moisture, and changes between substrates. Record existing joints and ask whether the supporting construction is stable enough for the intended finish.
A thin decorative layer should not be expected to correct major unevenness or conceal continuing movement indefinitely. Agree the repair and levelling scope separately. Where an existing finish will remain, establish whether it is sound and compatible with the proposed preparation system.
Pay attention to corners, openings, stairs, and interfaces between old and new construction. These areas often need explicit decisions before application begins. A marked drawing and photographs give the applicator a useful basis for assessing preparation, access, and sequencing instead of estimating from floor area alone.
3. Specify microcement as a complete system
Request a written list of the proposed primer, base layers, reinforcement where required, decorative coats, and protective finish. Compatibility matters across the full build-up. Combining products because each appears suitable on its own does not establish that they form a supported system.
The Topciment technical sheets organise information around individual coating products and their associated preparation and finishing materials. They provide a starting point for checking the particular system selected, rather than treating all decorative cement coatings as interchangeable.
Ask the supplier or applicator to identify which current documents govern your project. Confirm permitted substrates, application conditions, layer sequence, and service exposure. Keep these documents with the approved specification. When a product changes during procurement, review compatibility and appearance before accepting the substitution, even if the replacement has a similar name or colour.
4. Separate the finish from waterproofing
A sealed decorative surface does not automatically constitute a waterproof assembly. Water exposure, substrate protection, penetrations, corners, and drainage all need to be considered together. Confirm whether the specified system permits occasional splashes, running water, or immersion; these are different service conditions.
For a bathroom, coordinate waterproofing with falls, drains, fittings, and the finish build-up. Agree who designs the assembly and who is responsible for each junction. Do not rely on a generic statement that a coating is suitable for bathrooms as evidence for every detail.
The same distinction applies elsewhere in a building. Our guide to roof waterproofing systems addresses protective assemblies; a decorative surface coating should not be substituted for that function simply because its appearance resembles cement or its sealer repels some water.
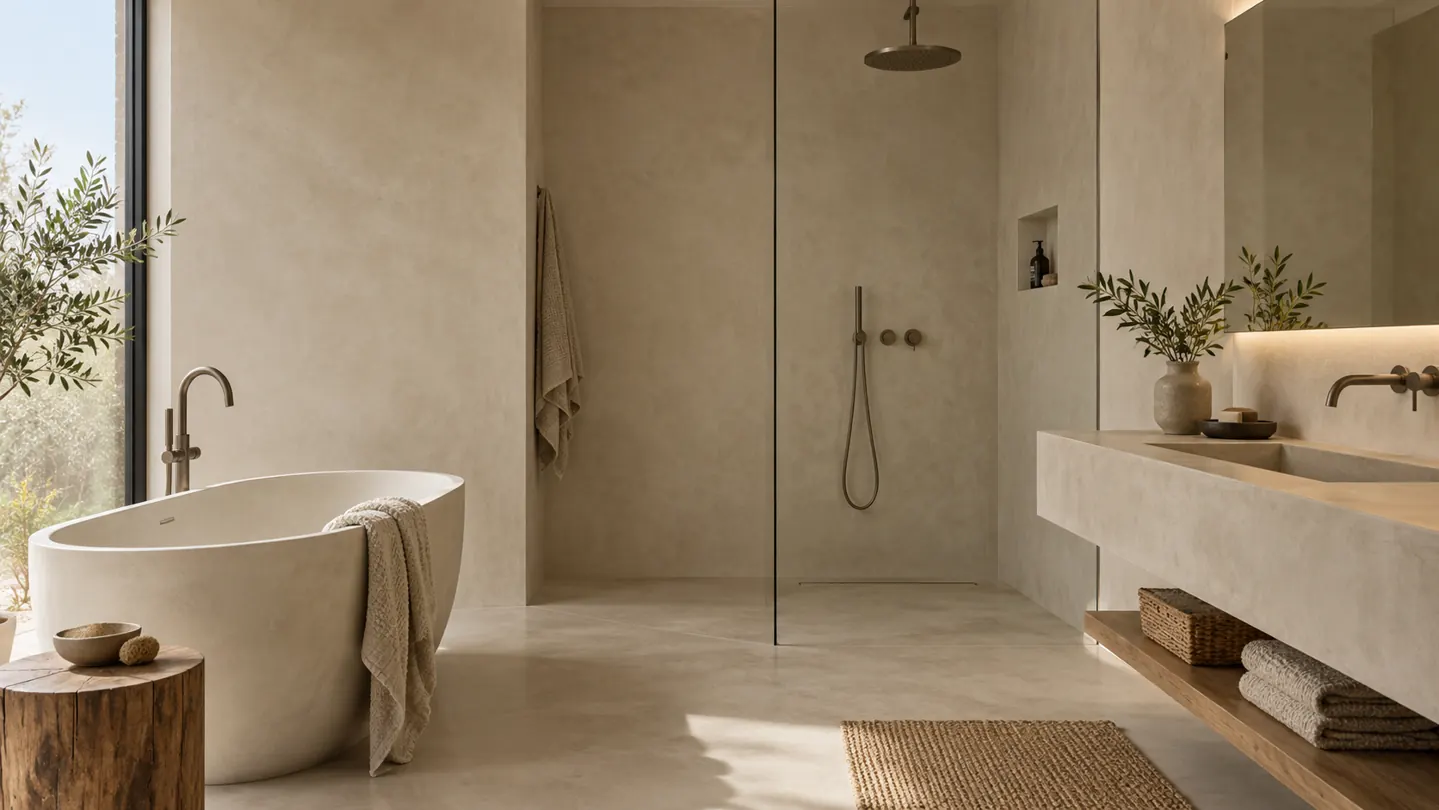
5. Approve microcement with a representative sample
A small colour swatch cannot show the full character of hand application. Request a sample panel made with the intended system, texture, colour, and protective finish. Where possible, use a representative substrate and view the panel under the project’s actual lighting.
Discuss what variation is acceptable before installation. A sample can demonstrate trowel movement, clouding, edge treatment, and sheen, but it should not create an expectation that every square metre will reproduce identical marks. Make the intended level of visual consistency explicit.
For large visible areas, consider a site mock-up that includes a corner or junction. Review it from ordinary standing positions as well as close up. Keep the approved sample protected until handover so the team has a shared reference when evaluating appearance.
6. Detail edges, joints, and changes of material
A continuous microcement finish does not remove the need to respect construction movement. Review existing joints and identify how they will be carried through or detailed within the selected system. Avoid leaving that decision until an applicator encounters the joint on site.
Draw interfaces with tile, timber, metal trims, skirtings, drains, and sanitary fittings. Discuss edge durability where shoes, furniture, or cleaning equipment may strike the finish. Stair nosings and exposed corners deserve particular attention because they combine appearance with repeated contact.
Resolve whether trims are installed before or after coating and which trade completes sealant joints. These small decisions affect the sequence and the finished appearance. Aloda Construction Company’s construction and finishing services offer a route to discussing these details as part of a coordinated interior scope.
7. Allow for application and protection in the programme
A coating system involves preparation, successive layers, and specified intervals before further work or service. Request a programme based on the selected products and site conditions. Avoid treating the application period as identical to the date when furniture and cleaning can safely begin.
Coordinate completion of dusty cutting, plumbing alterations, and overhead work before finishing vulnerable surfaces. Ensure the applicator has suitable access, lighting, ventilation, and storage. Other trades need to understand when access is restricted and what protection is permitted.
Plan how the finished areas will remain protected without trapping moisture or damaging the protective coat. Establish responsibility for removing protection and inspecting the surface. This is especially useful where several contractors share a tight programme and damage could otherwise be discovered only at final handover.
8. Discuss cleaning and future repair before approval
Before approving microcement, ask for written care instructions covering cleaning products, routine methods, and any maintenance of the protective finish. Compare those requirements with the building’s actual cleaning arrangements. A finish that needs specialist attention should be selected with that commitment understood.
Clarify how stains, wear, and local damage would be assessed and repaired. A patch may differ in tone or texture from surrounding hand-applied material, so discuss the likely visual implications before choosing an uninterrupted feature area. Keep the system details and approved colour information for future reference.
Develop the project brief around substrate findings, intended exposure, approved samples, detailing, and the programme. The Aloda Construction Company contact page can be used to discuss the proposed surfaces and what information is needed to assess the scope.
9. Frequently asked questions
Can microcement be applied over existing tiles?
Sometimes, if the existing finish is sound and the selected system permits that substrate. The assessment should include adhesion, joints, moisture, movement, and preparation. An overlay decision needs more than a check of the visible tile faces.
Will the finished surface look completely uniform?
Hand application normally introduces some visual variation. Approve a representative sample and agree the intended texture and tonal range. Lighting and surface orientation can change how that variation appears.
Does the protective sealer make every application waterproof?
No. Check the complete system and its permitted exposure. Occasional splashes, running water, and immersion require different evidence, and wet areas still need coordinated waterproofing and junction details.